
construction process
From substrate pre-processing to completion acceptance, eight processes are sequentially linked. Each coating should be constructed after the first one has reached the required state; In situ humidity, material matching and conservation isolation require simultaneous recording.
From substrate pre-processing to completion acceptance, eight processes are sequentially linked. Each coating should be constructed after the first one has reached the required state; In situ humidity, material matching and conservation isolation require simultaneous recording.
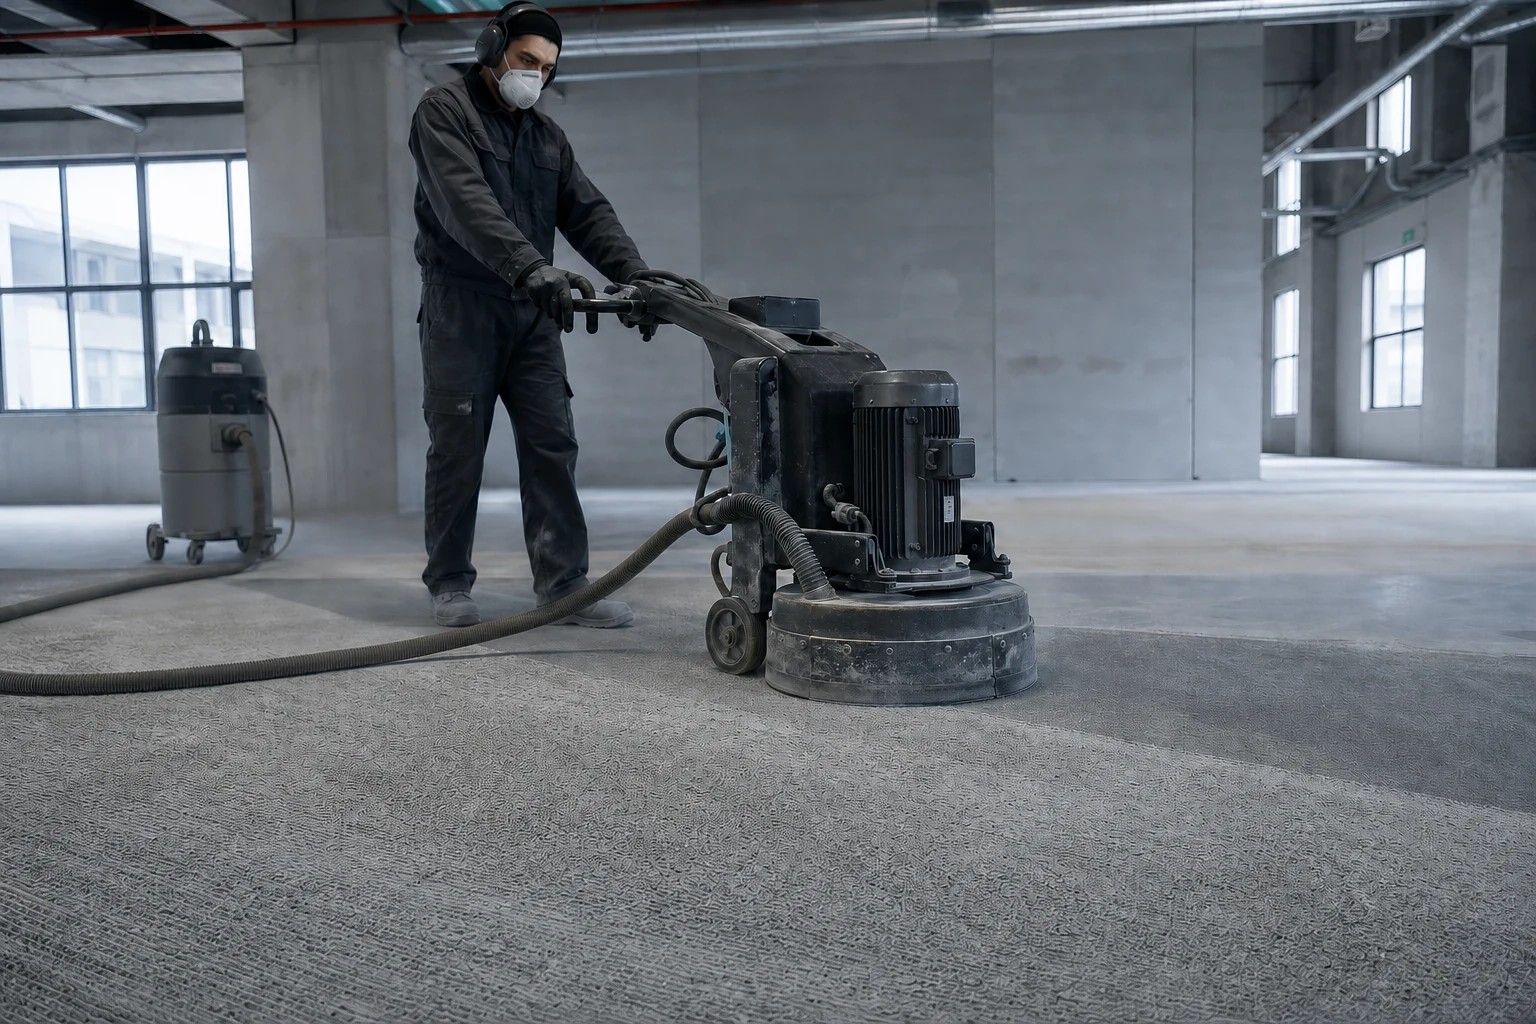
substate preprocessing
Basic inspections, surface clean-up, mechanical scalding, repair of defects, fine arc repair and overall dusting are performed in accordance with the norms. Substrate after acceptance shall be solid, dry, ash-free, oil-free and free of loose particles and shall provide reliable conditions attached to closed base paints.
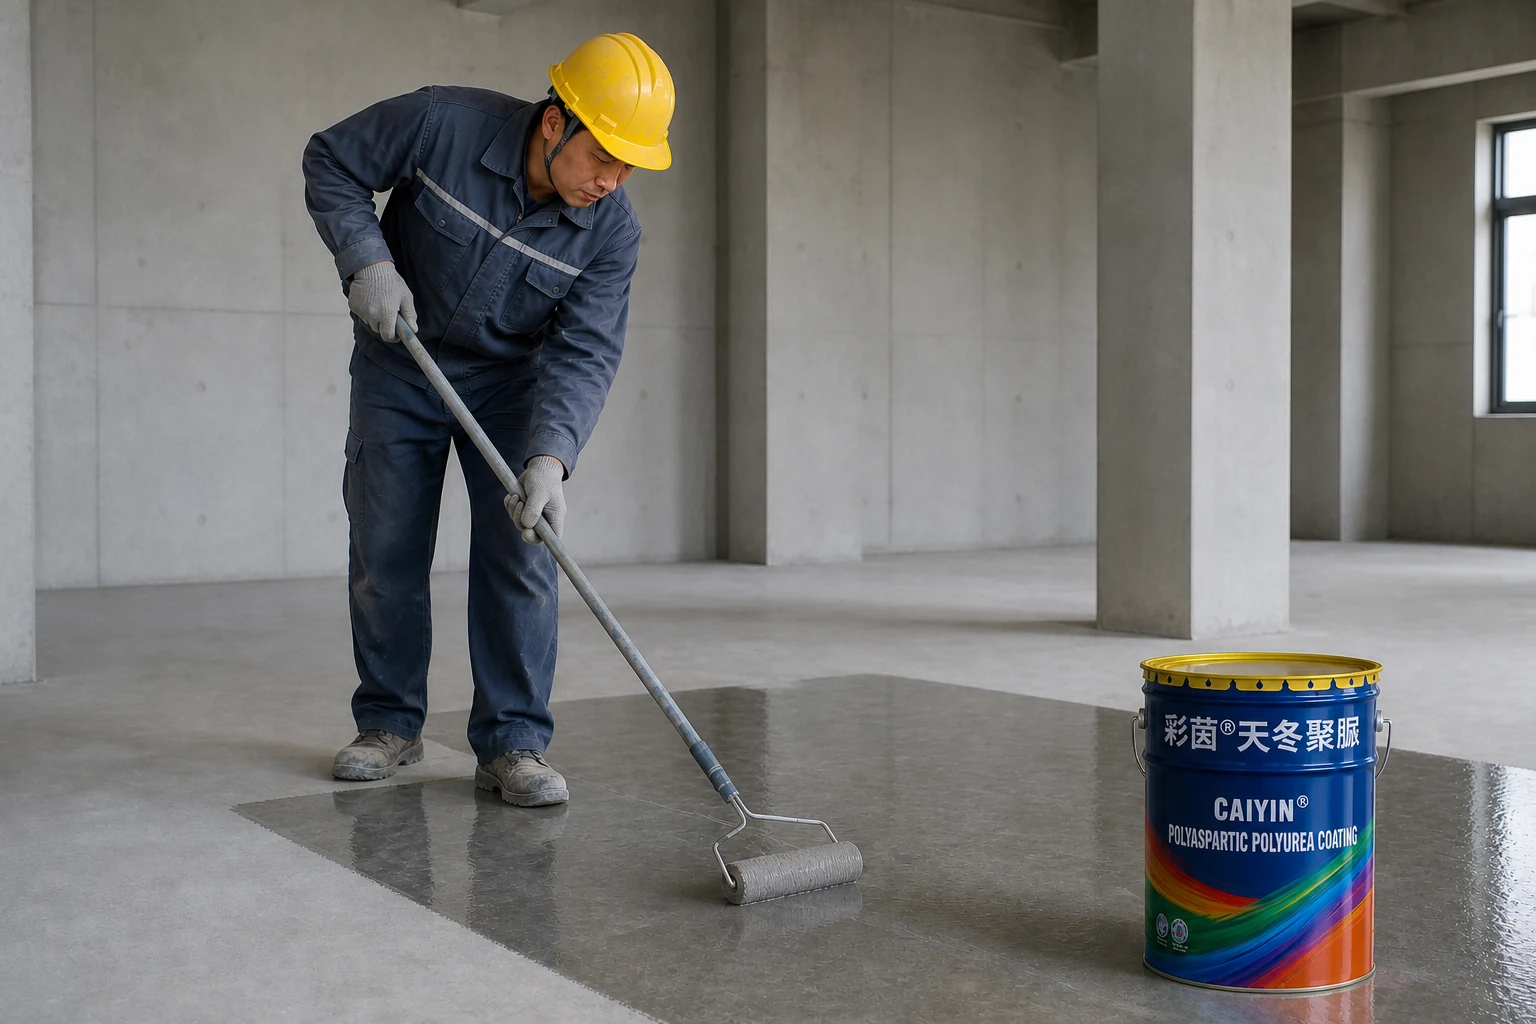
Close the paint.
After acceptance, substrate paints the special closed base paints of polyaspartic polyurea. (a) The thin coating shall be even, and it shall not leak out of the coatings or piles; The static maintenance was completed to confirm that the coatings were fully dry and non-plugged and then entered for work in progress.
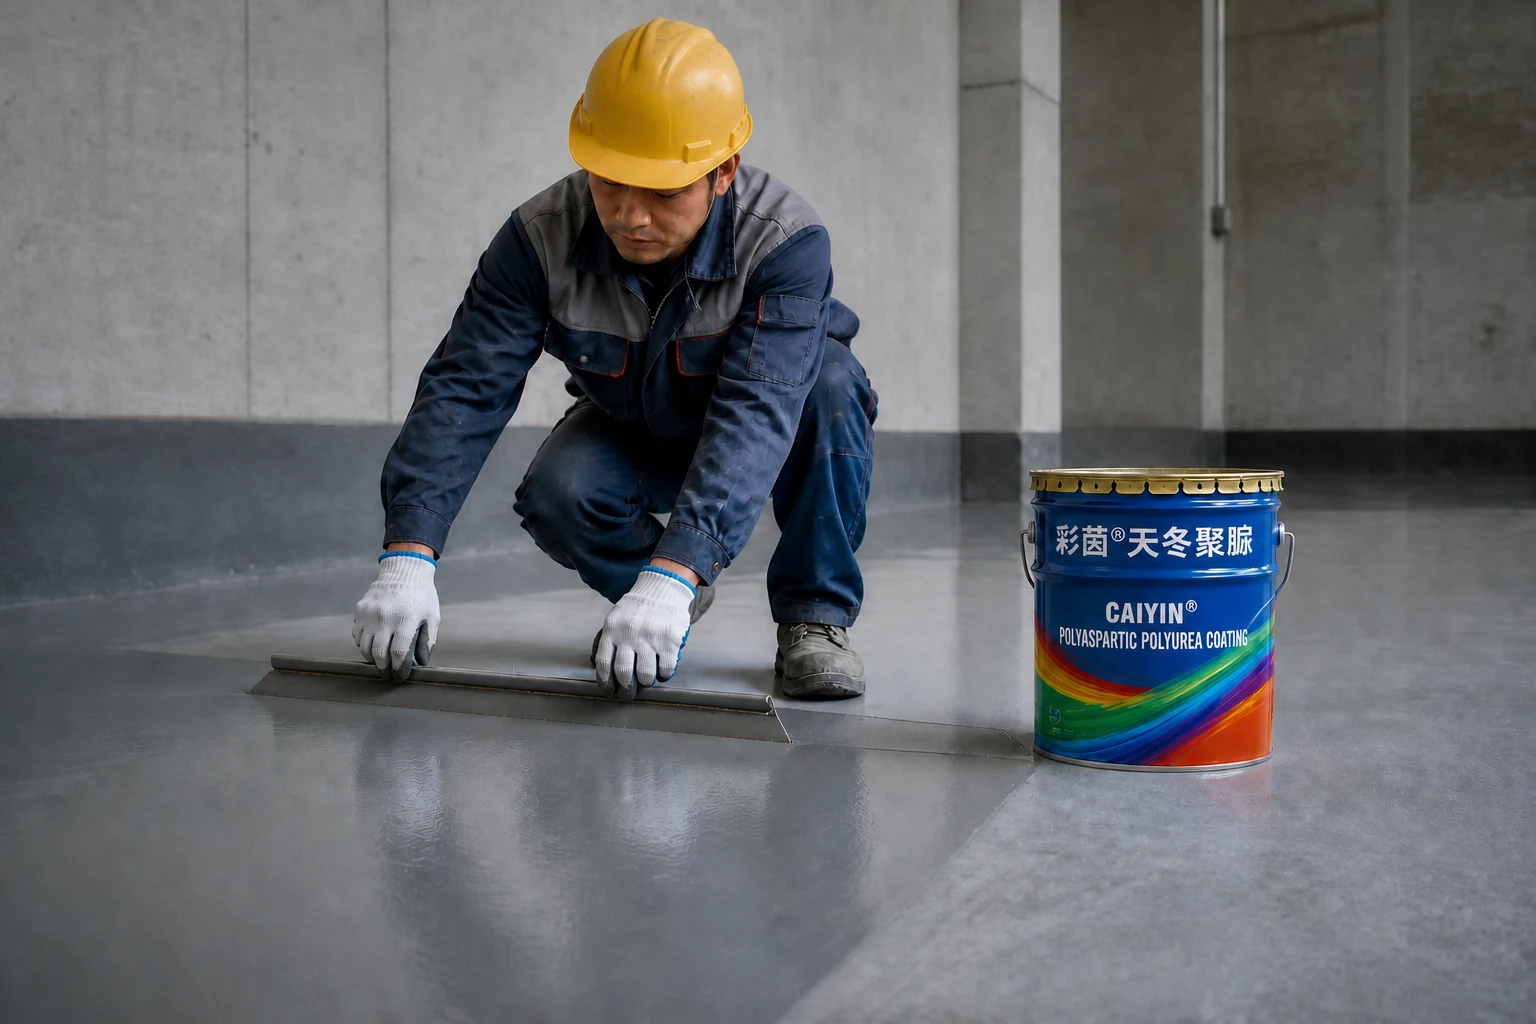
I'm going to have to do it.
Once the primer has fully cured, roller- or trowel-apply the polyaspartic intermediate coat to level small pinholes and depressions. Maintain uniform thickness without missed areas or material buildup, then allow it to cure fully.
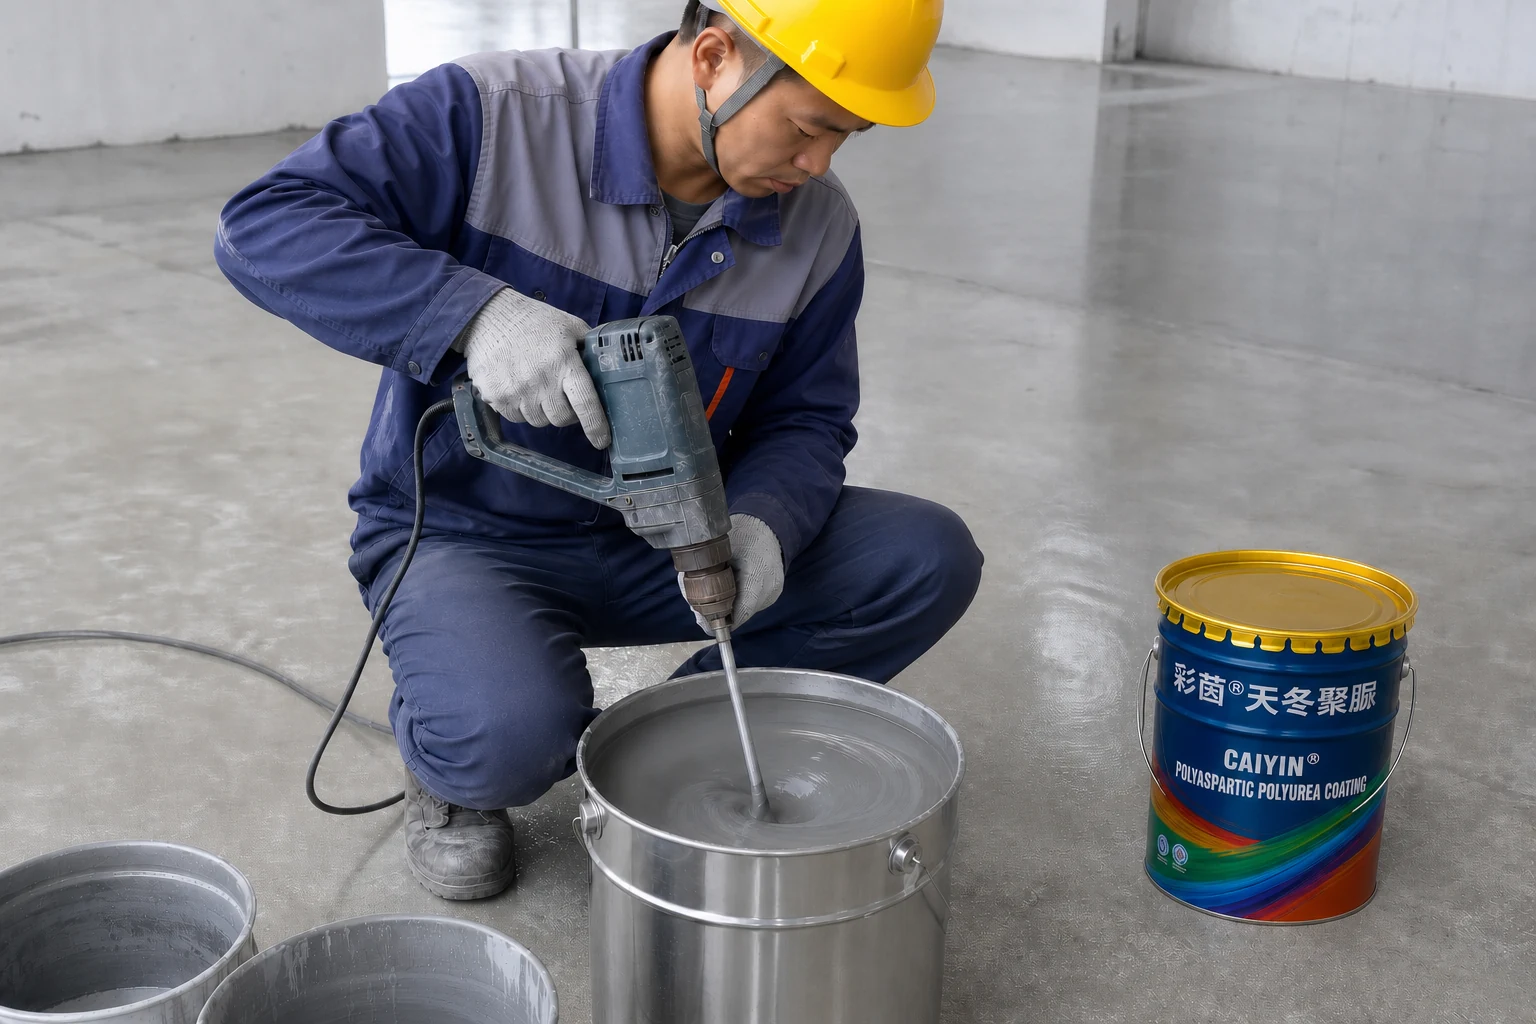
Material mix
A:B=1: 1 formulation is usually based on the manufacturer's certificate. Smuggle the A-assembly and then add all B-constituents with low-speed mixing of 2 — 3 minutes to squared, non-particle-free and non-specified. Packagings shall be clean, dry, non-oil-free and residual, and shall be used as they should be, in small quantities, as they should be.
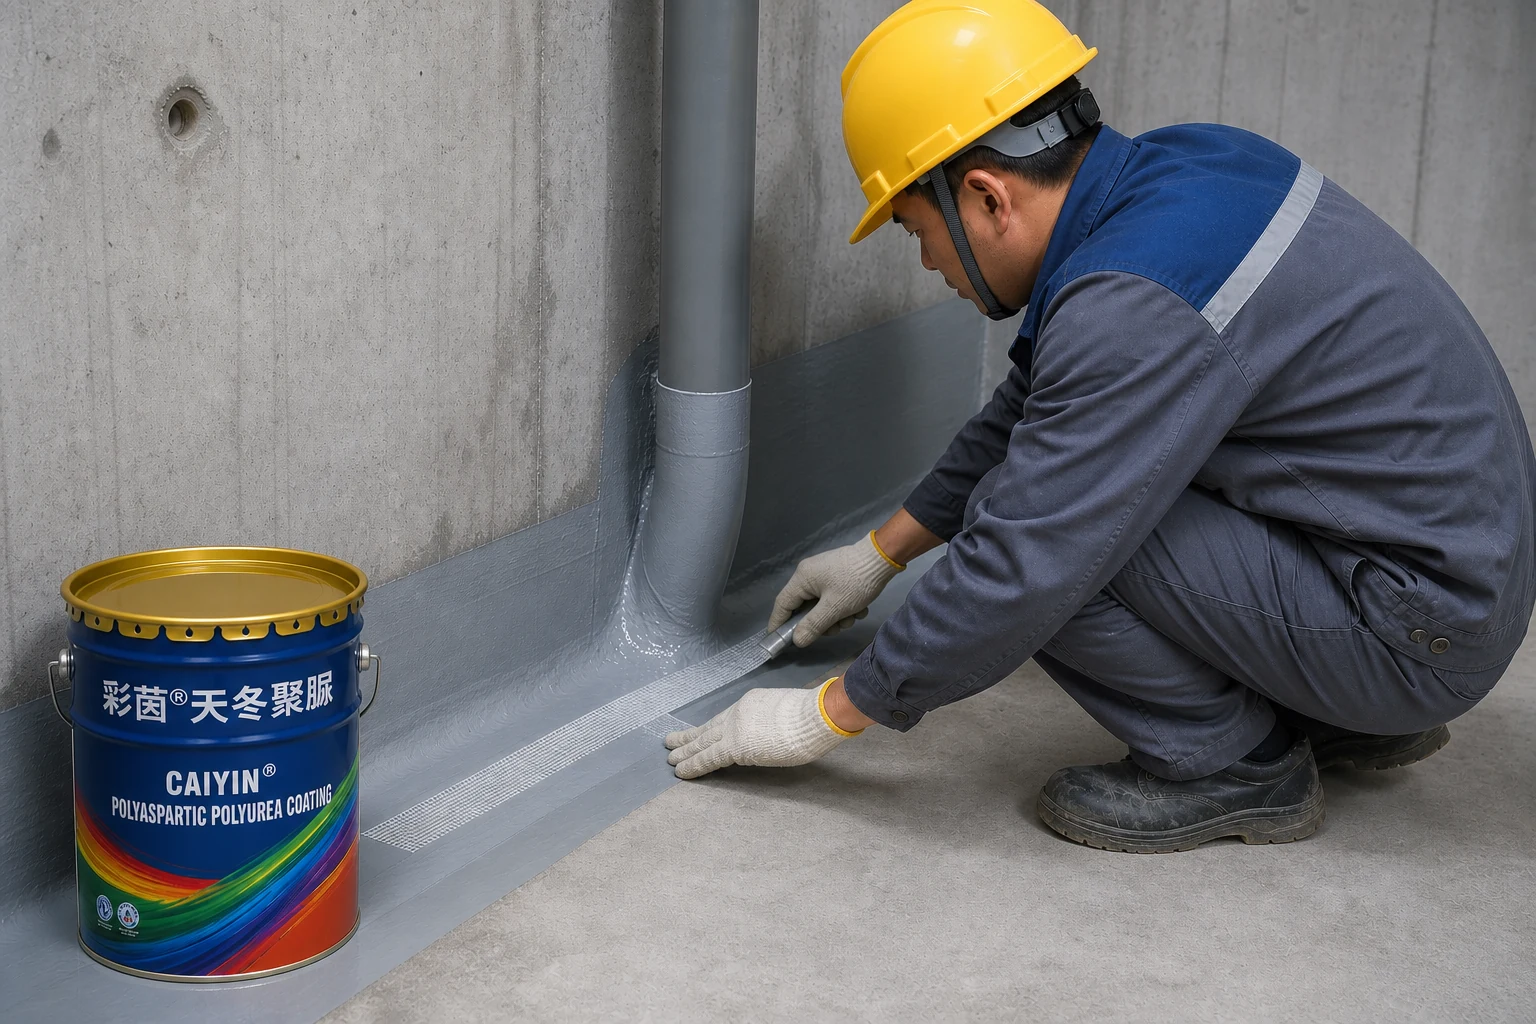
Locally enhanced processing
Weak nodes, such as tube roots, angular angles, construction stitches and cracks, are first painted with polyurea base material and then smoothed with a pelican or polyester cloth to form an additional enhanced layer. The cover shall be fully immersed, continuous and shall not be wrinkled, sided or empty.
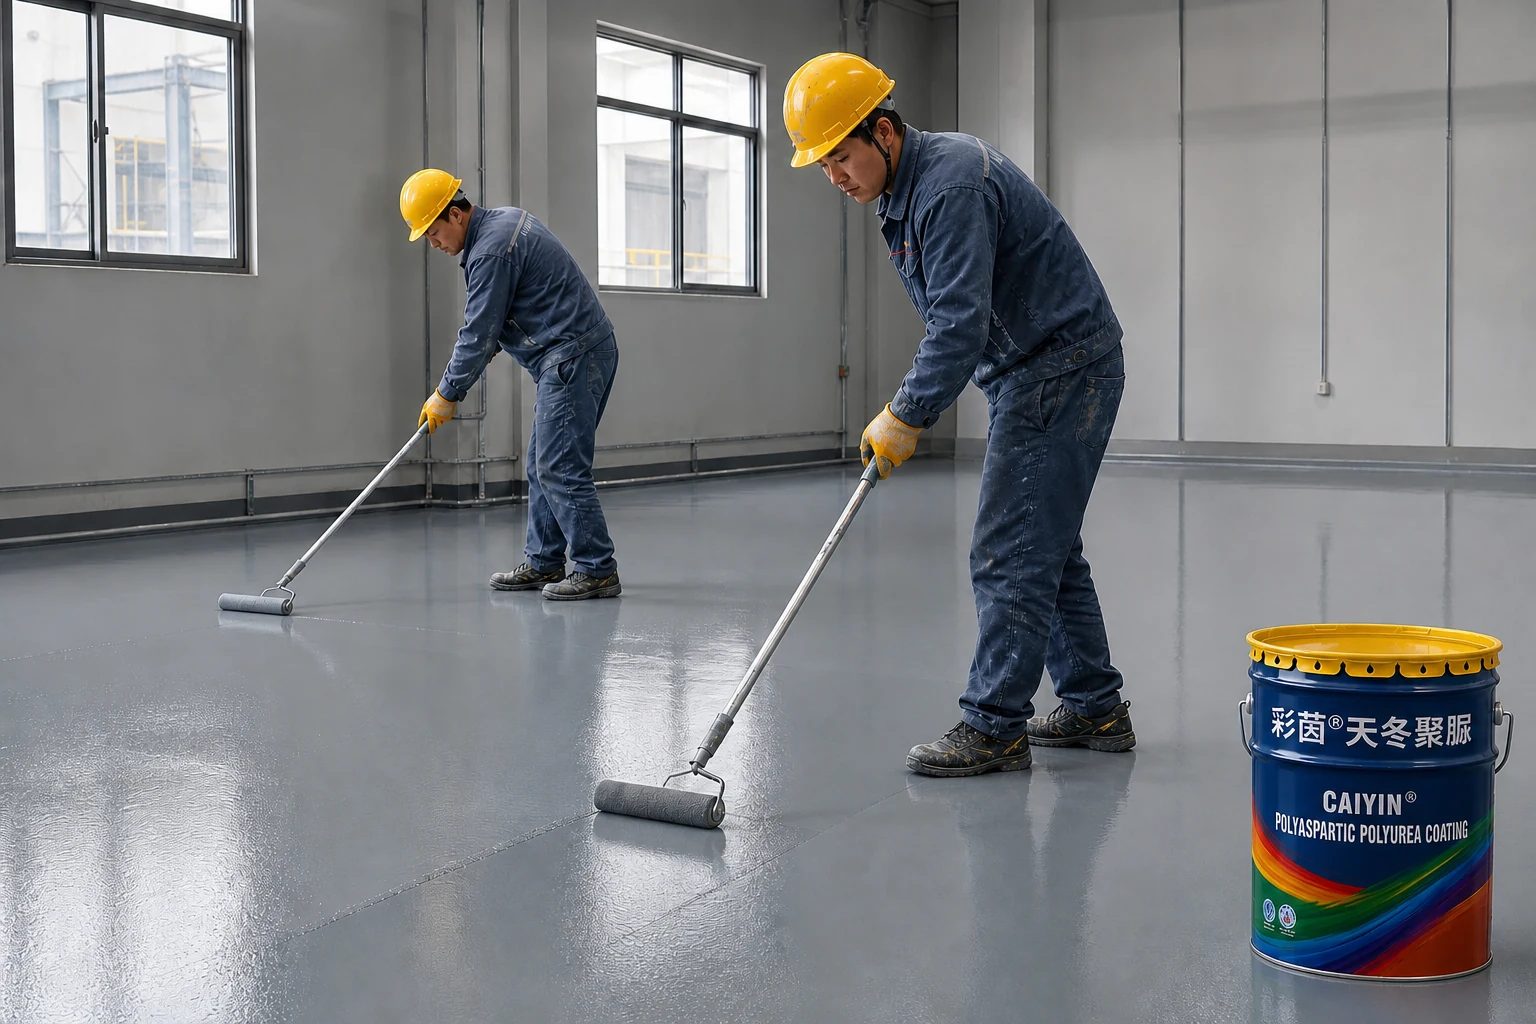
Topcoat construction
After the intermediate coat has cured and the surface is clean, apply the polyaspartic topcoat. Control roller overlaps and consumption to achieve uniform thickness and color, a dense finish, and no pinholes, runs or missed areas.
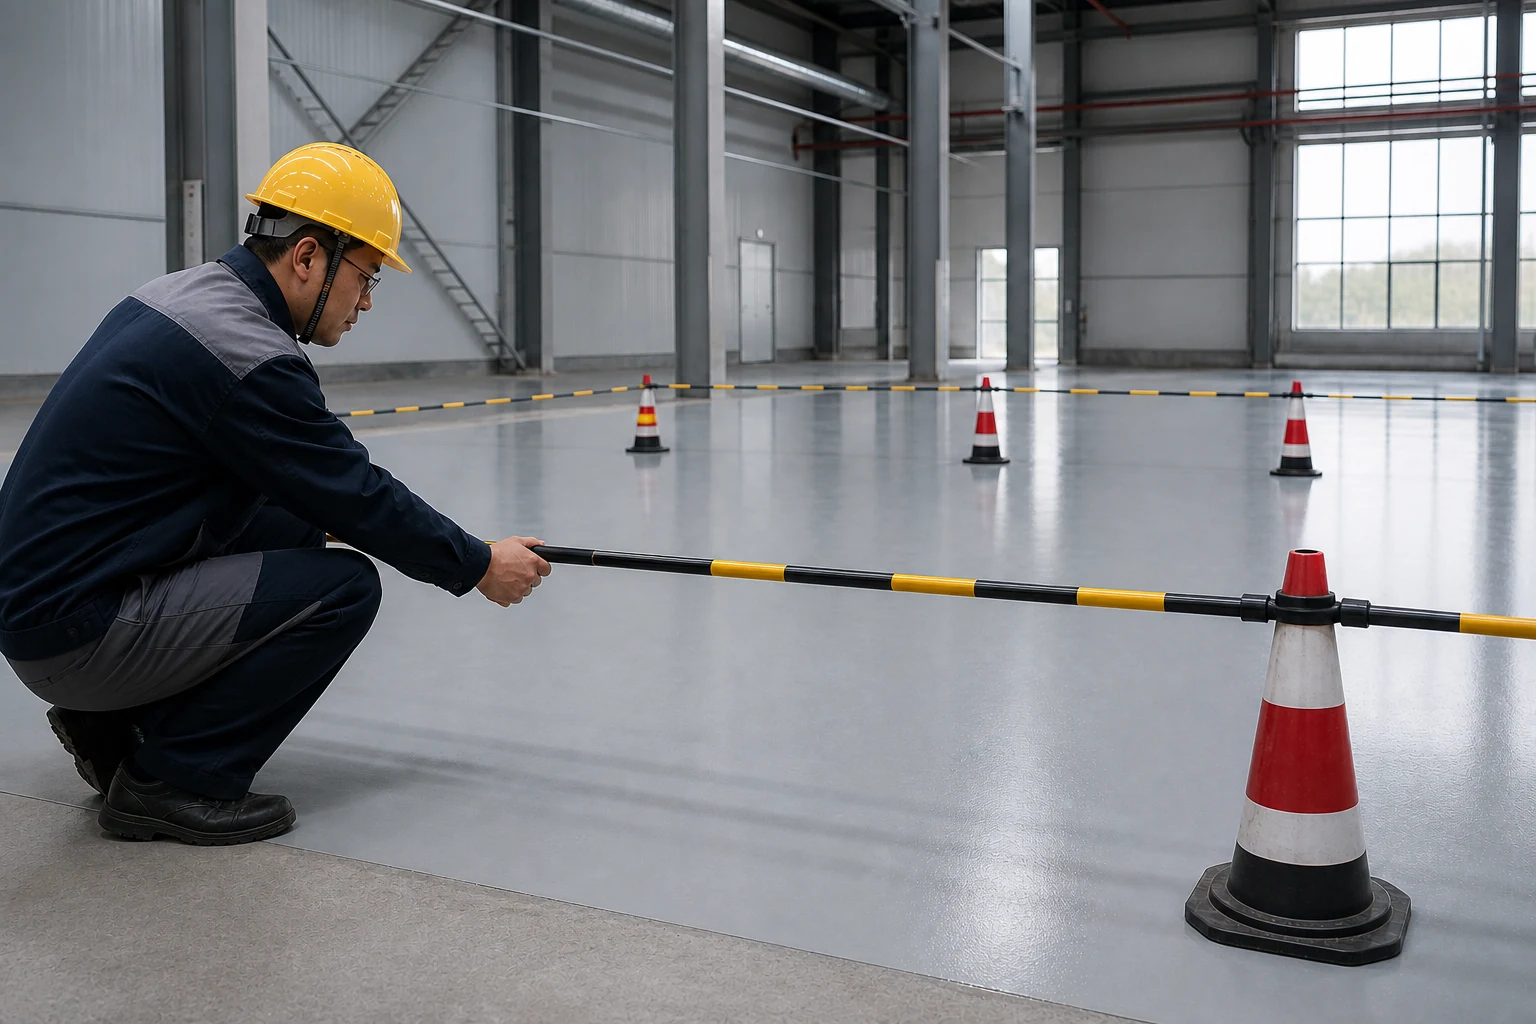
Conservation and control of finished products
Maintain an application temperature of 5—35℃ and relative humidity no higher than 85%. At normal temperatures, the coating becomes touch-dry in approximately 2—4 hours; full cure to form a waterproof layer usually takes 24 hours. During curing, protect it from foot traffic, water immersion, strong sunlight and contamination.
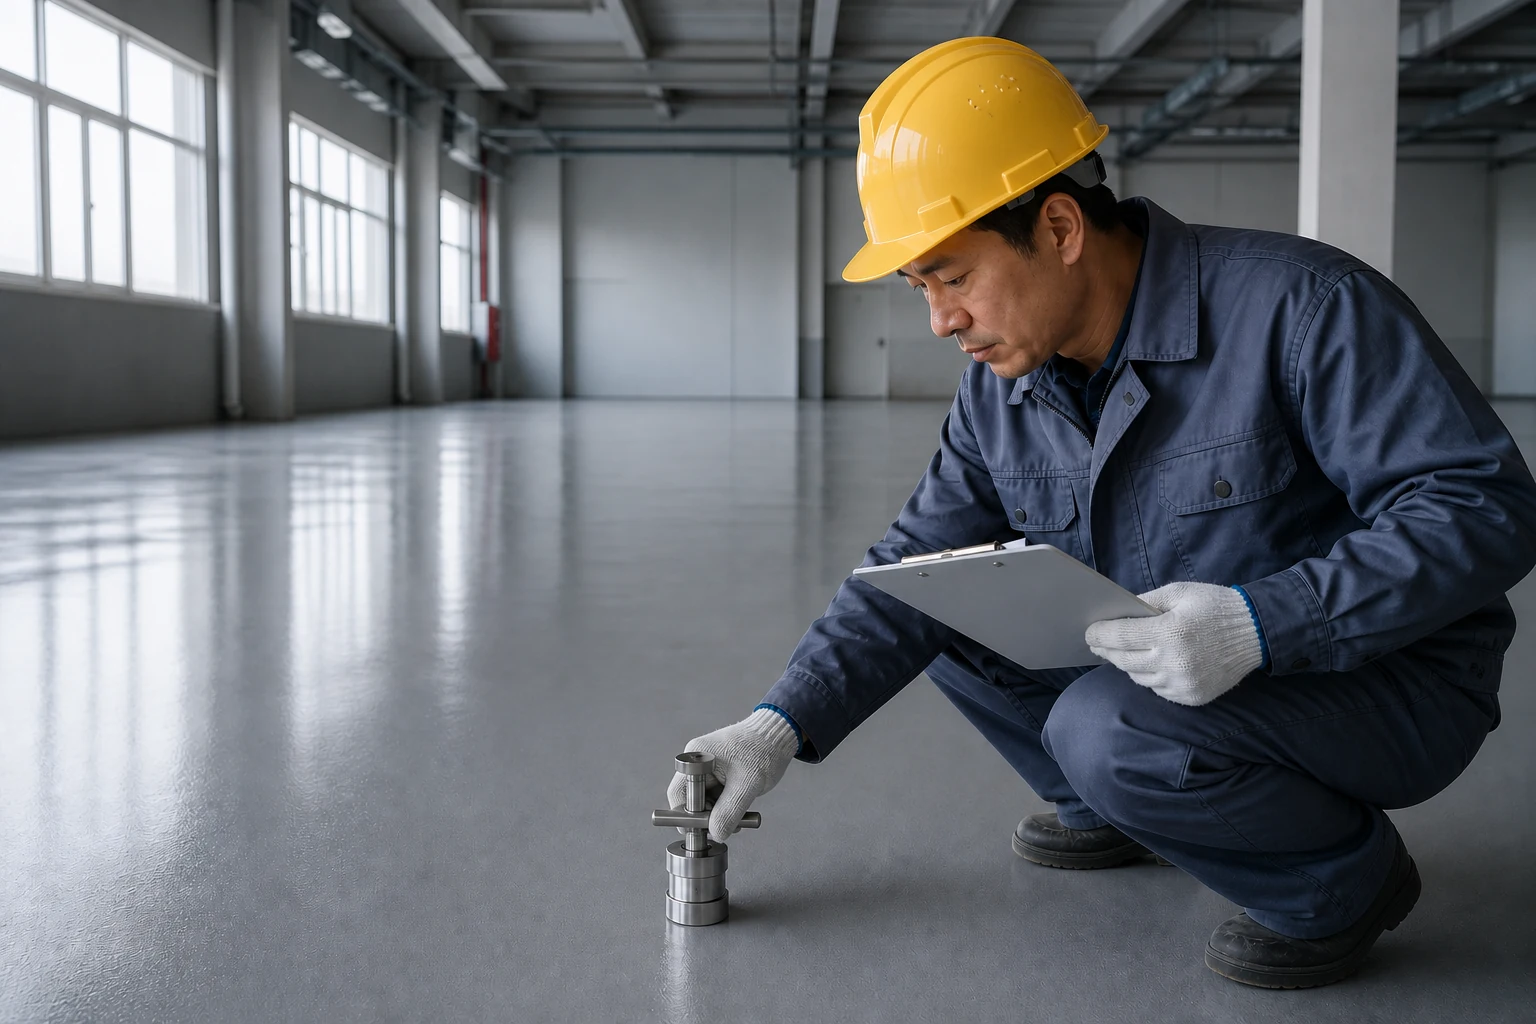
Complete receipt and inspection
Allow a seven-day curing period after completion, excluding foot traffic, standing water, heavy loads and equipment. Inspect after the coating reaches the specified strength: the surface should be uniform and dense, with no peeling, blistering, pinholes, cracking, delamination or missed areas, sound adhesion and no hollow substrate areas. Handover follows confirmation of the required waterproofing and corrosion-protection performance.
Selection guide
This page describes the polyaspartic polyurea construction process in order of substrate inspection, formulation, coating, repainting and maintenance, and suggests that the polyaspartic polyurea should be brushed according to the pot life, the temperature of the construction and the amount of the single ingredient for the product TDS.